

Over the weekend I got off to a good start with the kitchen set. I’m so excited about redoing this piece, it’s very near and dear to my heart.
On my first day working on the kitchen set, I pulled it outside into the sunshine with the intention of assessing what needed to be done to put my game plan together (that I shared yesterday). I also wanted get started by taking off the doors for painting, removing the peeling shelf paper inside, and giving everything a quick sanding to prep the surface for painting. Should have been an easy first day right? HAHAHA.

At first I was in planning mode and wondering if anything could be done to salvage the linoleum. It was starting to peel in several places and there was a big crack, but I kept thinking about possible ideas. While I was thinking, I decided to take off the doors. This took a while because the hinge screws had so many coats of paint on them and apparently the screwdrivers today are much fatter than the old ones. I got the left door off in a slow but steady process. I then started working on the right one, only to discover the last screw was completely stripped. After 10 minutes of trying, a bunch of swear words and several deep breaths, I decided that the door didn’t really need to come off. I could paint it while it was still on and make the left door the oven door - done! So I put the other screws back in and moved on to pulling out the old shelf paper from the interior.
By this time, the kitchen set had been sitting in the hot sun for about an hour. I noticed the counter was buckling and bubbling in a couple of places, and the peeling was becoming more apparent too. Right in front I noticed something shiny glinting from underneath and realized there was 35 cents and an index card shoved underneath the linoleum. I thought that maybe they were causing the buckling so I tried to pull them out… and ripped a huge chunk of linoleum off in the process.
Once I lost that first chunk, I knew it was all over for the linoleum. There was no going back. So I used a flathead screwdriver to help me pry off the rest.

It all came off pretty easily because everything was stuck down with some sort of black goo that was melted. Black goo that smelled like tar, felt like tar, and melted like tar in the hot sun… if it walks like a duck and talks like a duck… I think it was tar! At first I thought this was nuts, why would a pro use tar, but then I realized that it had worked for 60 years, so what do I know. But I'm pretty sure it's tar. (Update: My Grandmother called. It's not tar, it's old school linoleum glue. Good to know!)

Here's a close up:
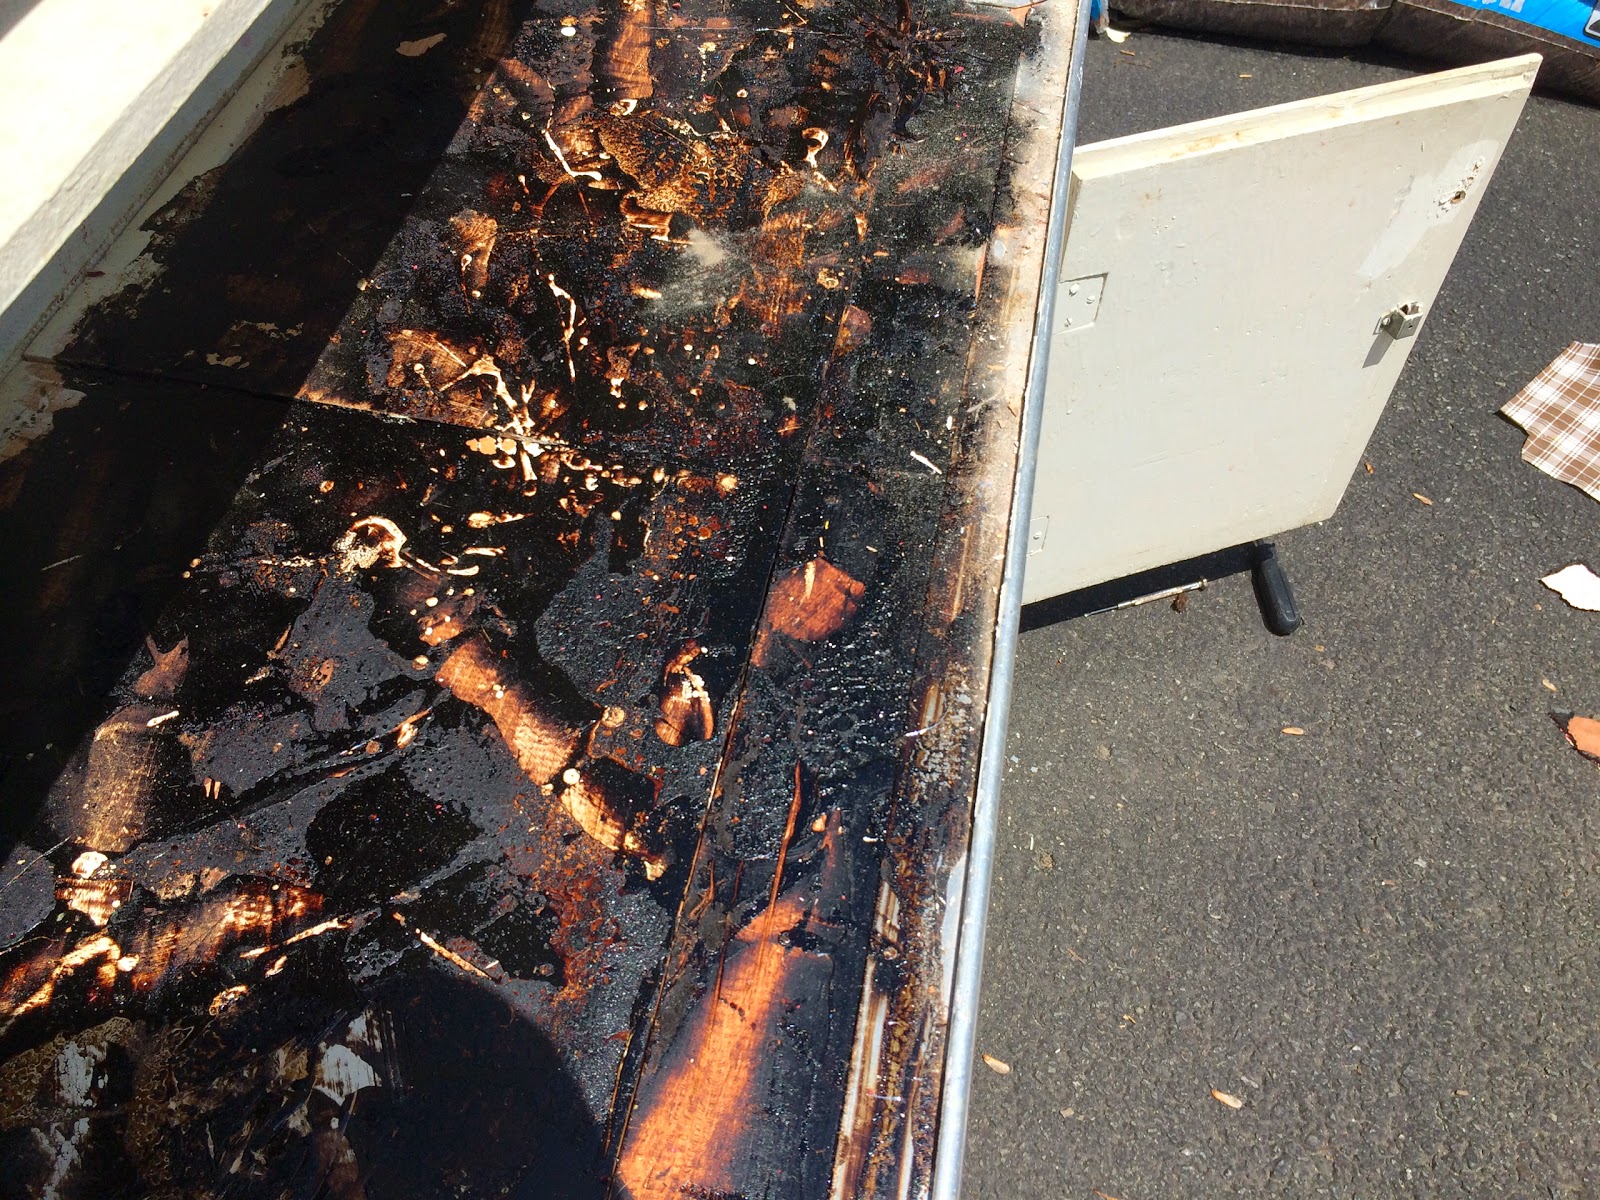
I ruined my screw driver bit in the process. Whoops.

Also I want to mention that during this whole process I wore goggles, gloves and a mask because I knew I was potentially dealing with lead-based paint and who knows what else. Like our house, the cabinet pre-dates the ban of lead paint. Even though I think the cabinet had been repainted more than once in its many years (there are a lot of layers of paint on there!), we don’t mess around when it comes to disturbing old paint.

On day 2 I continued my progress. I used wood filler to fill the old hardware holes and a few of the worst gouges. I sanded the whole piece down (again while wearing protective gear). I repaired the loose piece of metal flashing around the counter because it will be the perfect outer edge for the mini tiles. I also measured and drilled the holes for the new hardware, including a hook on one side (for a pot holder) and a towel rack on the other.


While I was drilling for the new oven door hinges, I found this on the bottom:


I assume these are construction measurements from my great grandfather, written on scrap lumber used for the bottom. How cool is that? I definitely want to protect this little piece of family history - when I paint the piece I want to seal the wood on the bottom to keep this safe.


No comments:
Post a Comment