
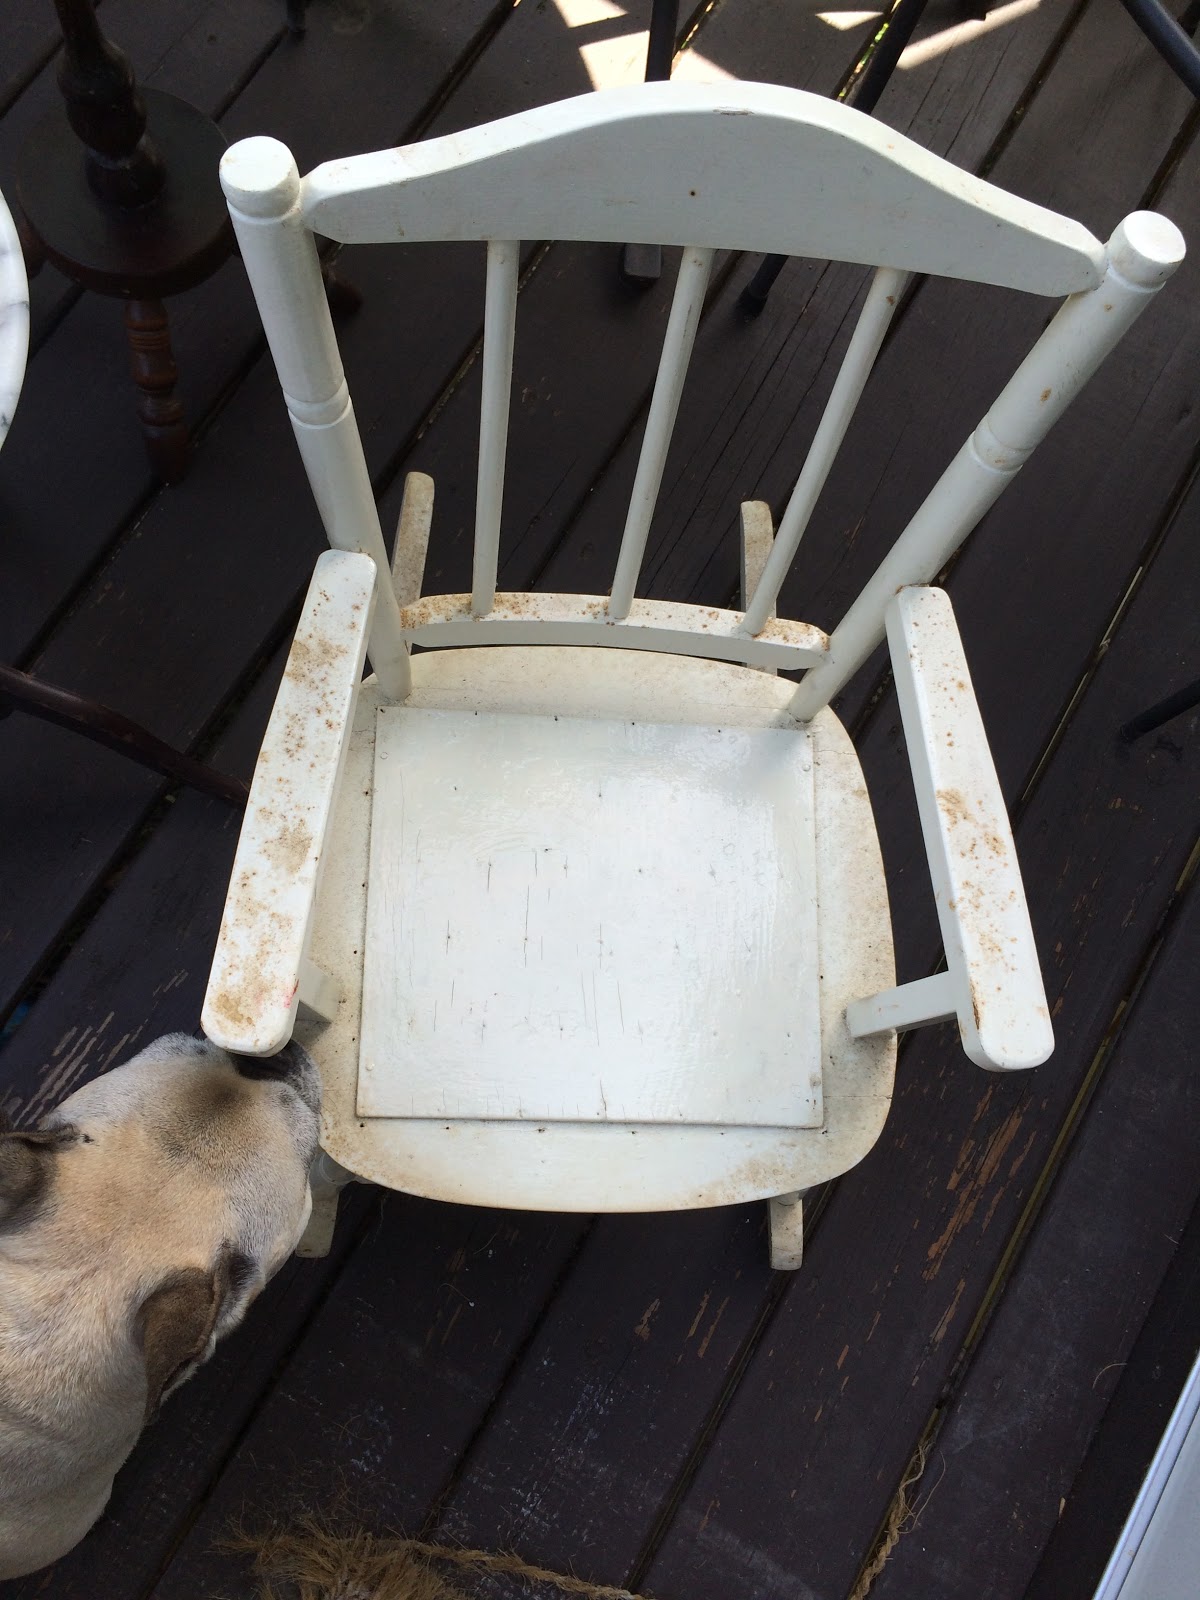
I bleached the whole thing first to get rid of all the mildew, which worked really well. I then sanded it down to smooth out the pockmarks and to also rough up the super-glossy finish so the new paint would stick.


I started with the legs because I wanted to do them in a fun color and I wasn’t sure what color would look best and I wanted time to redo it if I needed to. I was torn between my current favorite go-tos, bright yellow and aqua, both of which I had on hand. I decided to go with the yellow because it was leftover from the half bathroom in a semi gloss (which supposedly has more sticking power) and I knew it would coordinate with the wallpaper in the living room and the chandelier in the playroom.

The following day I repainted the arms, seat and back with 2 coats bright white enamel in a semi-gloss (our furniture go-to paint), as well as the underside of the seat. I started underneath and then did the parts that show (so I wouldn’t nick the paint turning it over). On the third day, once the paint had time to set, I did 2 coats of wipe-on poly to protect the finish because I know this chair will take a beating. Have I sung the praises of wipe-on poly recently? Because this stuff is amazing. You shake the can, you pour it onto a rag and you wipe it onto the furniture. Wait 2 hours, repeat, done. DONE. It's the easiest polyurethane to put on - no bubbles, no brush strokes, just invisible protection in a nice hard finish.

I’m going to be leaving it in the basement all week to cure and harden (plus the poly smells a bit), but I’m really excited to give it to Oliver this upcoming weekend. Here's the finished product:


Looks great! Looking at it I was thinking that the square on the seat would look nice also painted yellow.
ReplyDelete